Wanna see more riding, cool tech tips, and maybe a crash or two from our very own “Wattsy”.
Go Here —->![]()
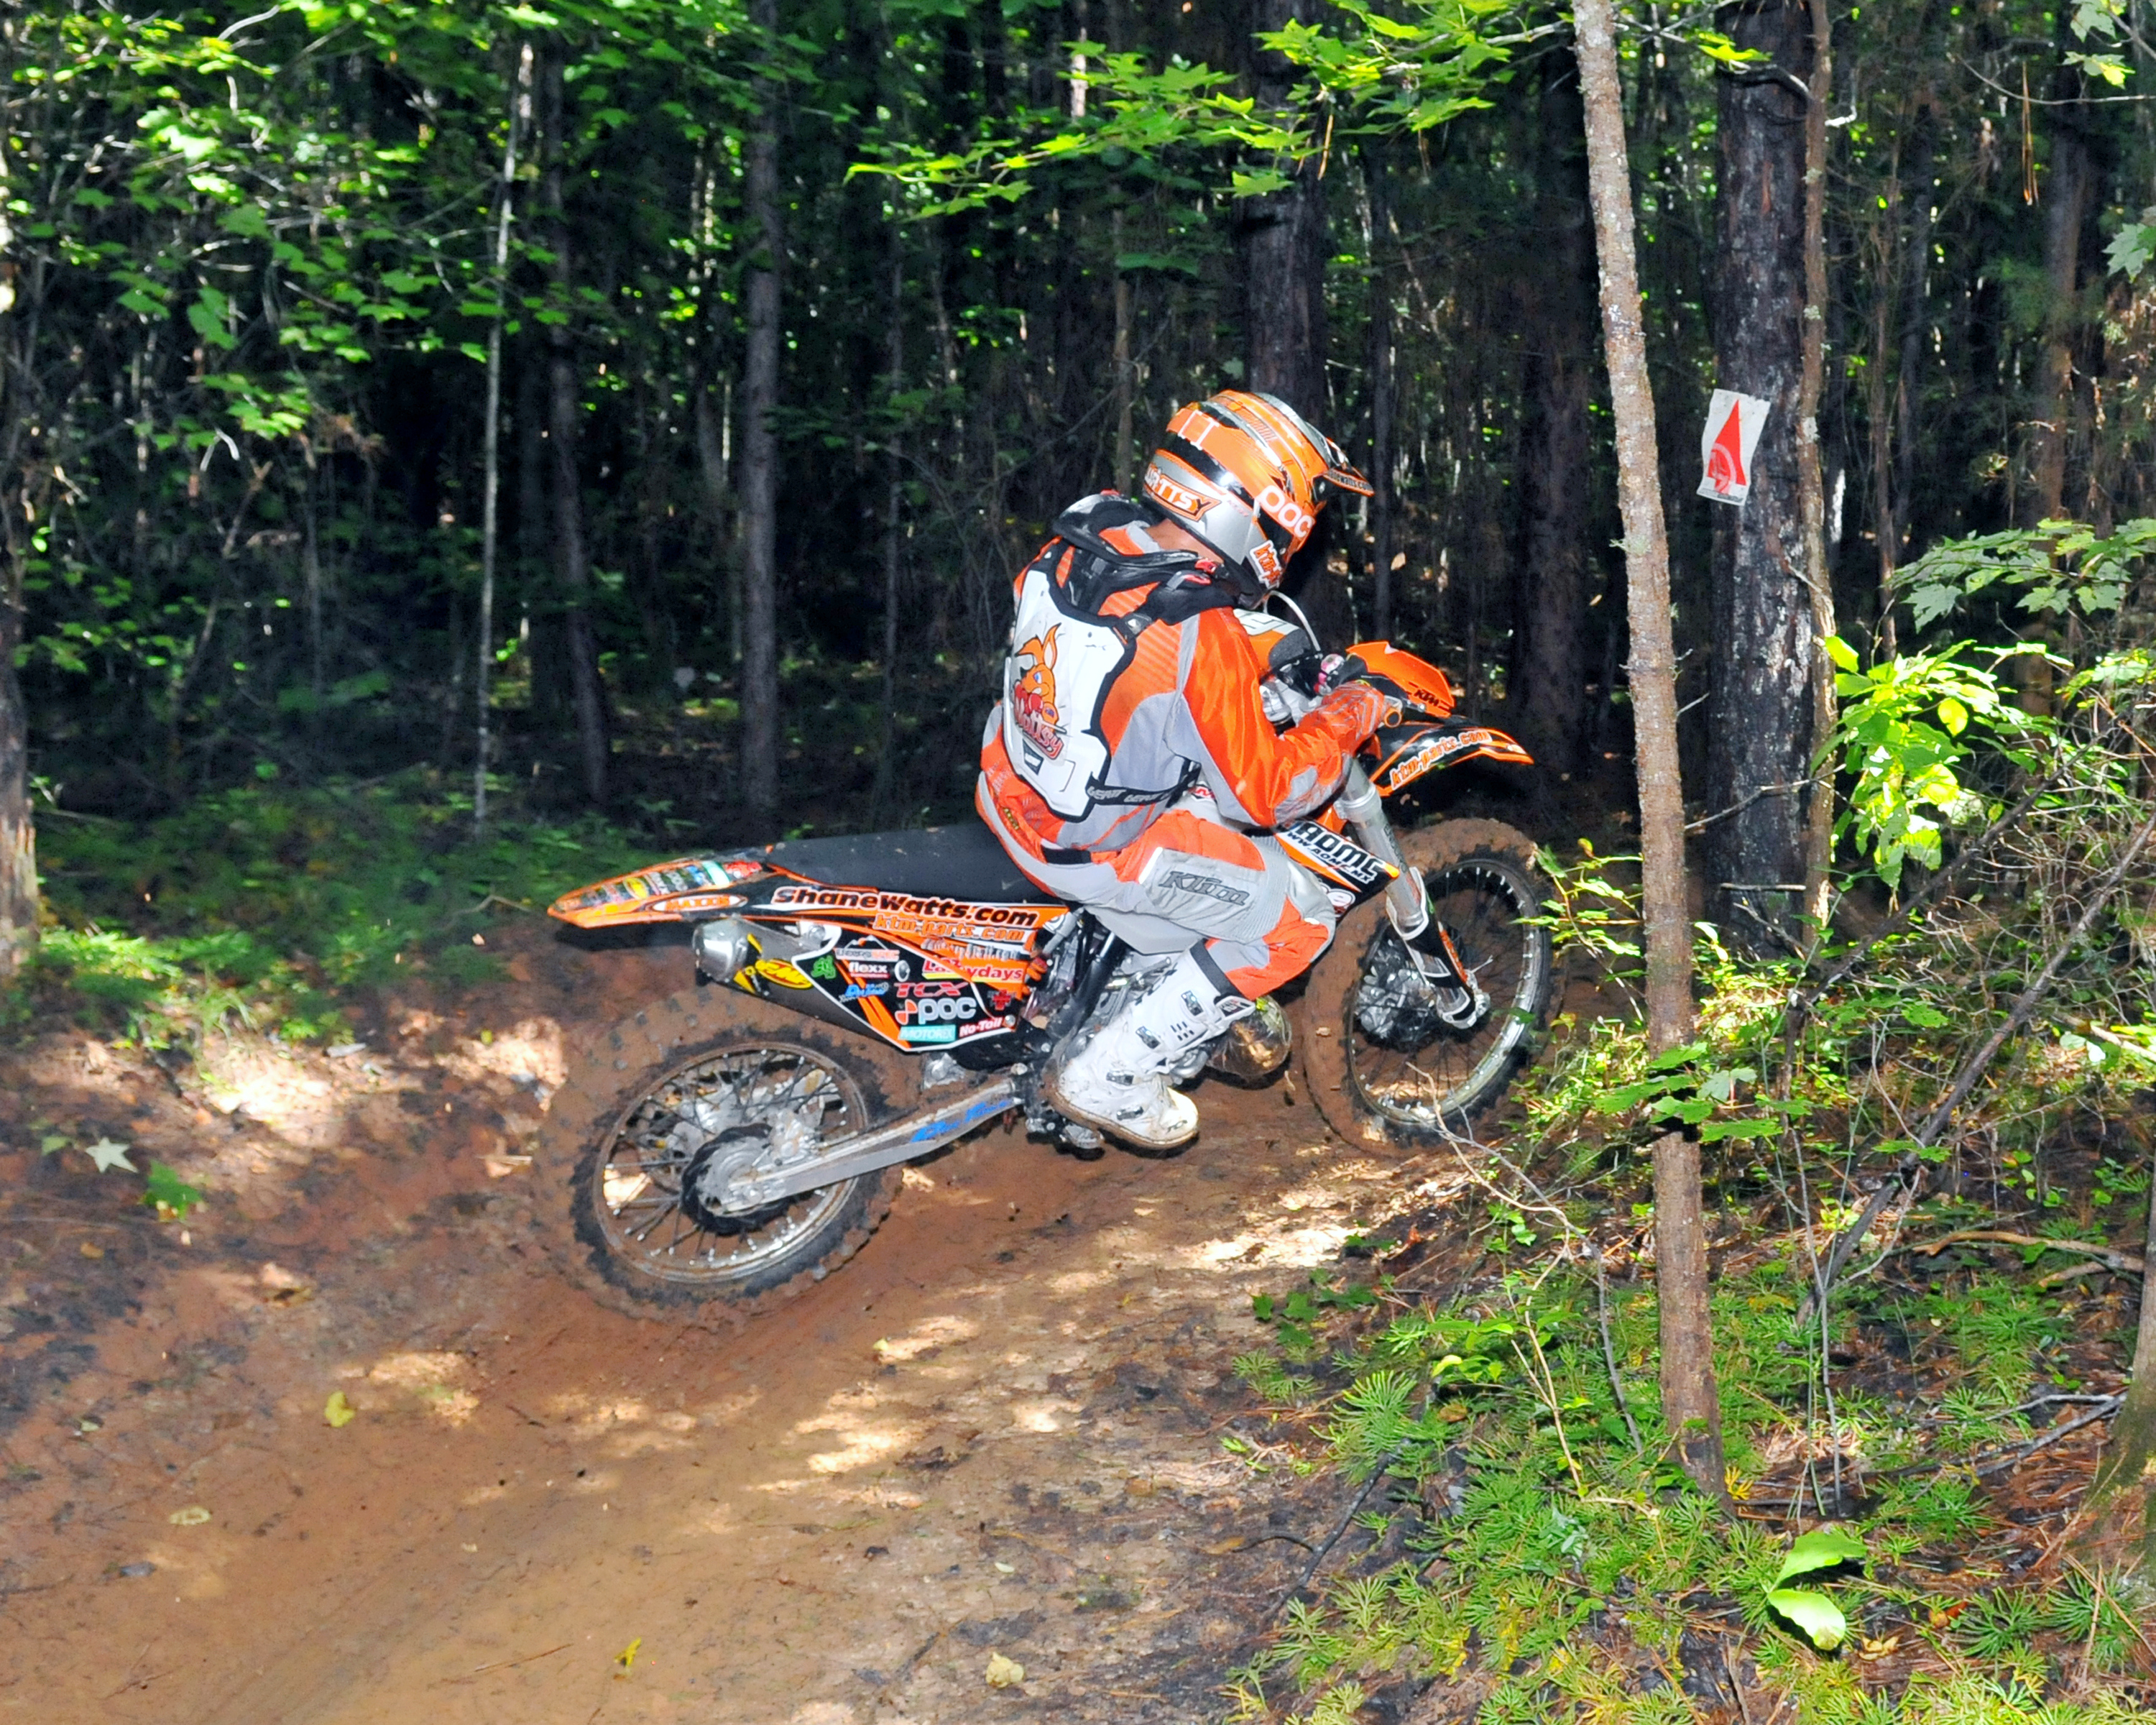 In muddy and sandy conditions your motorcycle will move around a lot more while under acceleration therefore you will need to be much more attentive to maneuvering your upper body weight side to side to help maintain balance and to achieve the best acceleration. This allows you to keep the throttle on instead of hesitating with it off while trying to regain your lost balance. Selecting a higher gear usually helps with putting the power to the ground when riding in mud. Generally speaking the faster you are going the more balance you will have due to the gyroscopic effect of the motion in both wheels, plus there will not be as much mud in the knobbies due to it being flicked off which will provide for better traction.
In slippery or loose conditions it is very important to move further to the rear of your bike so as to increase the effect your body weight has on gaining more traction at the rear tire. If the rear tire hooks up and you start to wheely too high just basically leave the throttle at the same position, but pull the clutch in the necessary amount to decrease the drive to the rear tire which will lower the front wheel back to the ground. On up hills or when stuck on trail obstacles it’s important to be real effective at putting the power to the ground with great throttle and clutch control and coordination. Generally, it’s better to use the lower portion of the powerband and the torque of the motor so as that the rear tire has more chance of hooking up. If you are stopped you may need to give a quick burst of power and exaggerate your body movement to gain some initial forward motion before backing the throttle off to help the rear tire hook up. You don’t want to keep the rear tire spinning wildly as you won’t get much traction and it will be very easy to slide out and lose balance. You need to find the best balance between wheel spin and hooking up to achieve the maximum acceleration.
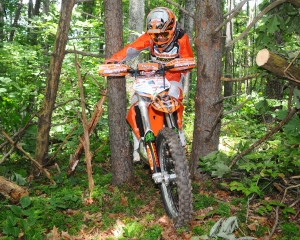
If the trail just weaves through the trees then you will generally want to stand up. This gives you better balance retention and ability to weave between trees by having increased bike maneuverability and change of direction. Having precise judgment and being sure not to hit any trees is essential. For higher speed sections the cone weave exercise is a great way to practice and fine tune all of the movements and techniques for doing this, plus to get comfortable with the wheels drifting should they break traction. To achieve this best you just sway your body weight onto the appropriate footpeg to alter the bike’s direction wit
h great ease. Weight the inside peg to lean it into the corner, then change your body weight distribution to the outside peg for increased traction around the corner and to stand the bike upright on the exit.
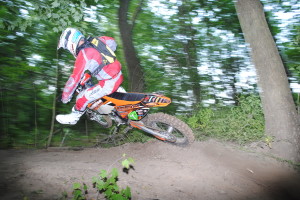
In a section of tight trees very close together you can use a variation of this technique by actually slightly spreading your knees apart somewhat and using your arms to help very quickly sway the bike from one side to the other, allowing you to miss all of the approaching obstacles. When seated, you use so much more body energy trying to perform this v
ery aggressive change of direction between the trees, plus you can’t do it as quickly and your legs tend to get in the way. The best option for most situations when there are just a few very tight trees then the trail opens up again is to stand when going through those tight trees for the benefits just mentioned then sit on the exit to maximize your acceleration and energy conservation.
If the tight trees are offset you try to approach them a little to the opposite side of the trail from the first tree you could hit so to give more handlebar clearance. This also actually provides more distance between the trees once you commence to slightly steer through them. Once past the first tree you just quickly flick your bike back the opposite direction to clear the next tree trunk and to maintain good forward momentum. When the trees are parallel you definitely need to approach with the fron
t wheel to the side of the trail to attain a better angle to perform the wiggle through that smaller trail width. Plus this helps you to miss any nasty bumps, exposed tree roots, or deep ruts that will likely form there from other riders having to do the “stop and start” method.
Unlike what you probably read on an internet forum (ha, ha!) you don’t wheelie and turn the handle bars through tight trees like this as it is actually way slower and much more dangerous than doing the “Wattsy wiggle” through them, unless of courseit is a very unique situation where a decent sized braking bump has formed before the trees and you can then jump through the trees with the hangers turned for decreased width.
Depending on the stiffness of the trees many times you can just blast through the smaller trees without even turning your bars unless it is a Manzanita bush or some crappy tree like that.
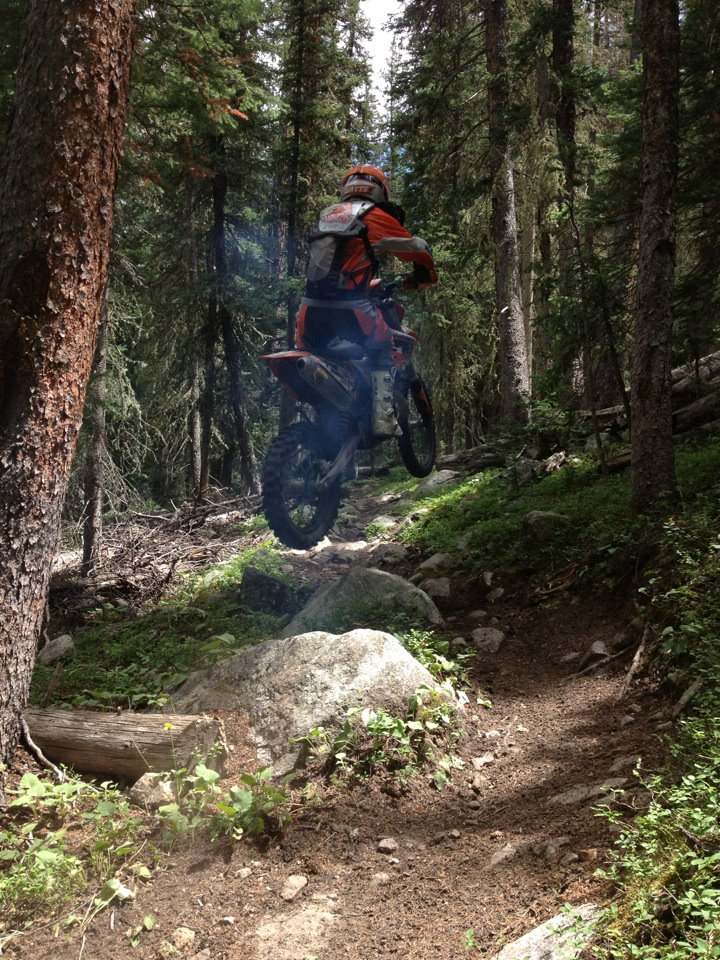
When tackling long, soft, silty berms you need to gauge the maximum force you can place on the soft soil, that makes up that trailsituation, to support the tyres adequately from blowing through the wall of the berm. If the berm has already been blown out in a certain section you will need to turn slightly more aggressively off the banked surface earlier in the berm. Using that initial portion of the berm to pivot slightly sharper will allow you then to “reconnect” with the remaining berm for the rest of the corner. A more aggressive version of this same technique can be implemented to help you hop out of a rut that doesn’t have a desirable ending or is full of water. Using a variation of the 180 wheelie you maximize the effect by getting hard on the gas and pushing/bouncing your body down into the bike’s seat, which magnifies the compression and rebound of the suspension, to achieve the necessary launch of the front wheel out of the rut at the precise moment. It is most critical to get the front wheel up and over the inside edge of the rut so as it doesn’t slide out. Hopefully the rear tyre will also have enough rebound effect to hop over that edge also. If not just stay on the gas anyway and control the bike with your grinding and drifting skills.
Late summer/early fall is a prime time for a lot of riders to head out and hit the trails with their mates for a roost session. Personally I just got back from a week of epic high country single track in the mountains of Idaho, and it was sensational!!! During that time the result and effects of a few basic trail “rules” were clearly evident to those present.
1. Have a designated trail boss (who actually knows where he is going!) and follow that person, or at least make ride decisions as a group and adhere to them.
2. Do a head count of riders BEFORE you start the ride.
3. When you get to a trail intersection the lead rider continues on while the second rider of the group waits there and directs the following riders until all riders have passed or the designated sweep rider arrives – no exceptions on that one!
4. Always try to remain as a group (safety in numbers), but if a rider does need to call it early for whatever reason make sure they truly do know how to find their way back or are accompanied by at least one other rider.
5. Fill your bike’s fuel tank up ALL the way to the top before the ride and at any gas stops during the ride. Remember now that the only time you can have too much fuel is when you are on fire!
6. Packing a light Gore-Tex type rain jacket can be a savior especially in the high country where the weather can change from pleasant to extremely nasty real quick, and don’t forget to also include some poo-tickets in a zip lock bag in case nature calls – it sucks having to ride the rest of the day after sacrificing a sock for clean up!!!
7. Take a camera/helmet-cam to take some happy snaps and document any worthwhile moments, good or bad. At some stage in the future you will be glad that you did!
8. Carry all of the equipment and tools to perform a trail side puncture repair, or better still get your mate to carry it for you – a 21 inch tube will work much better for both wheels than an 18 inch tube.
9. Same goes if you drown out in a river crossing. Have one of your mates wring out the airfilter for you so as they get the greasy, oily residue on their hands.
10.If there is a large puddle or small creek crossing on the trail try and line it up so as you roost past your mate on the back wheel just before the water. The resulting splash and drenching is worth bonus points for the after-ride bullshit session!!!